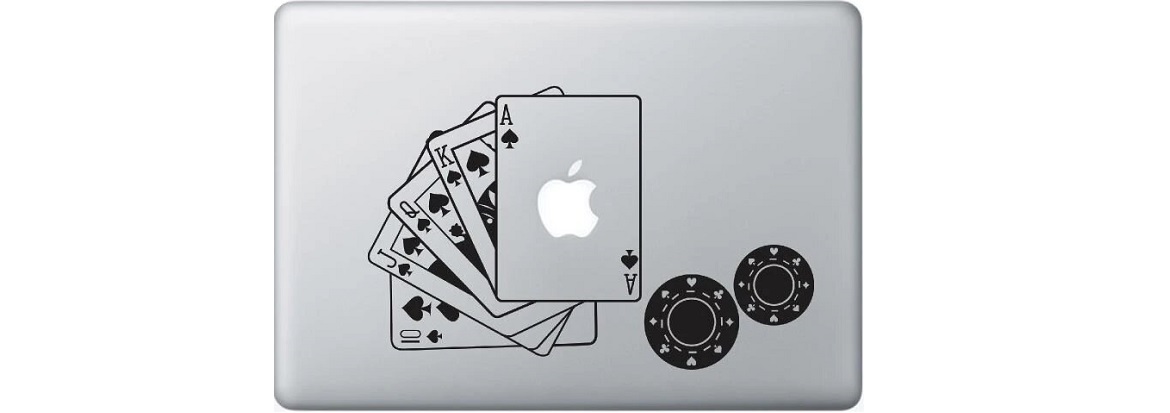
How to Apply Macmerise Decal
You just got your Macmerise Decal, Awesome!! This is going to be easy. Do not worry if your exact laptop model or decal isn’t shown. The procedure is same for all laptops and decals. All you need is a Wet Cloth and a plastic card to apply the decal.
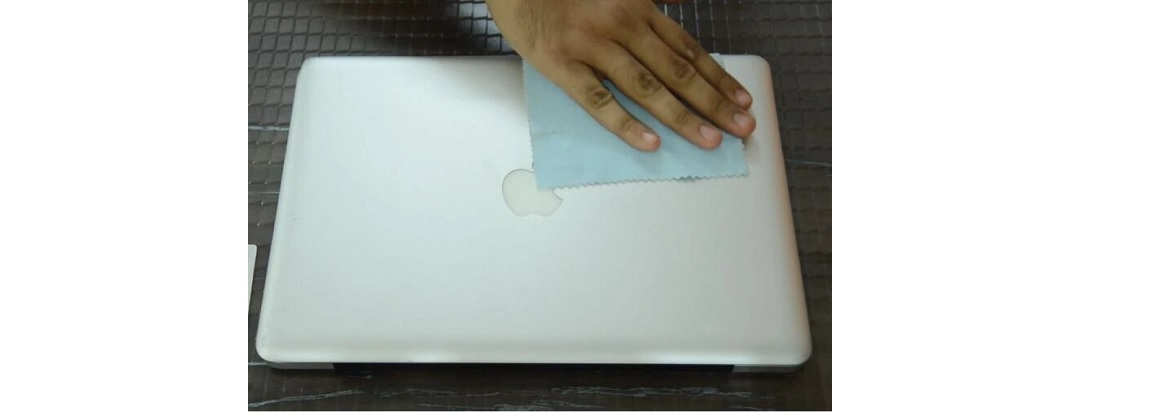
1. Clean the Surface of your Macbook with the wet cloth. It is important to make sure the surface you are applying the decal is very clean and dry.
2. Set the position of your decal. Raise the lid to position. This will light up the apple logo and will be easier to see. Reposition the decal until you have it just right.
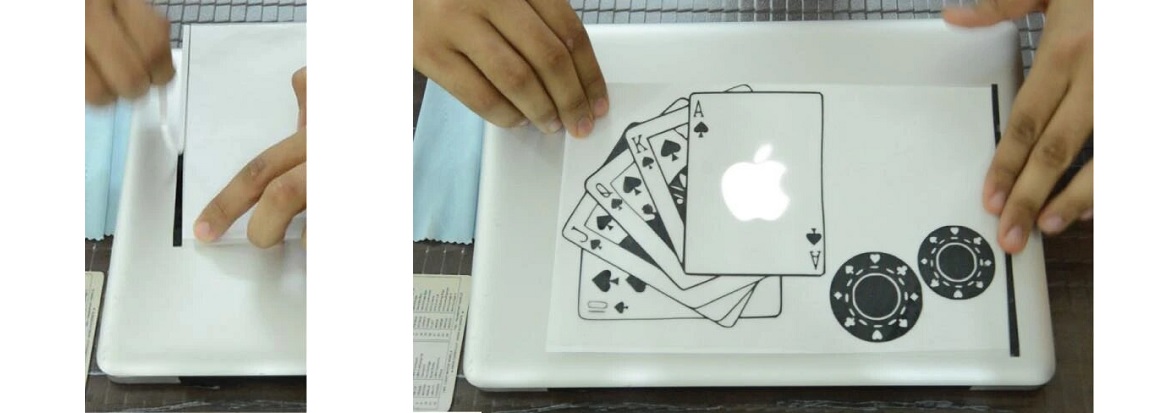
3. Using the black tape as the hinge, pull back the decal. Once folded back, remove the glossy paper. If any of the decal gets pulled by the glossy paper, press them down to ensure they are stuck to the adhesive application paper.
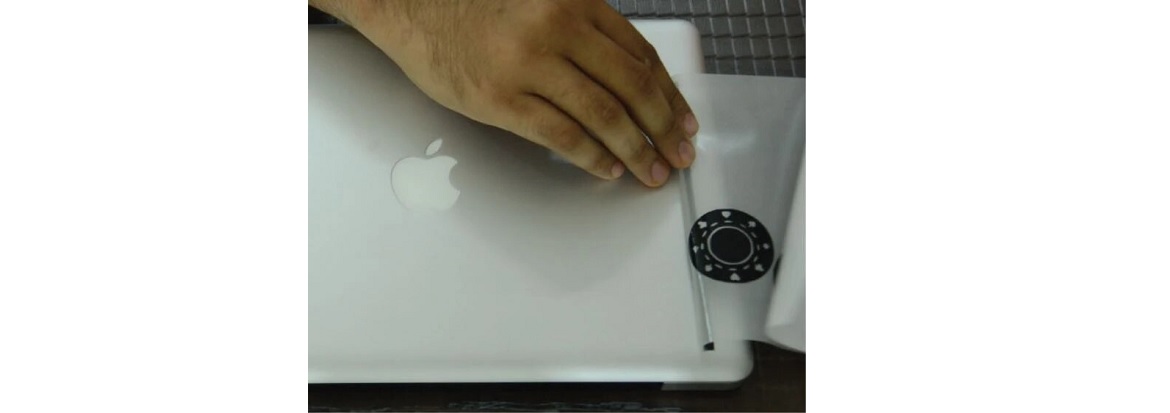
4. Use the Plastic card to scrape the decal in the direction away from the hinge. This will keep the decal in the correct position and will reduce the chance of Bubbles. Scrape Hard with the plastic card to ensure nice bond with the surface.
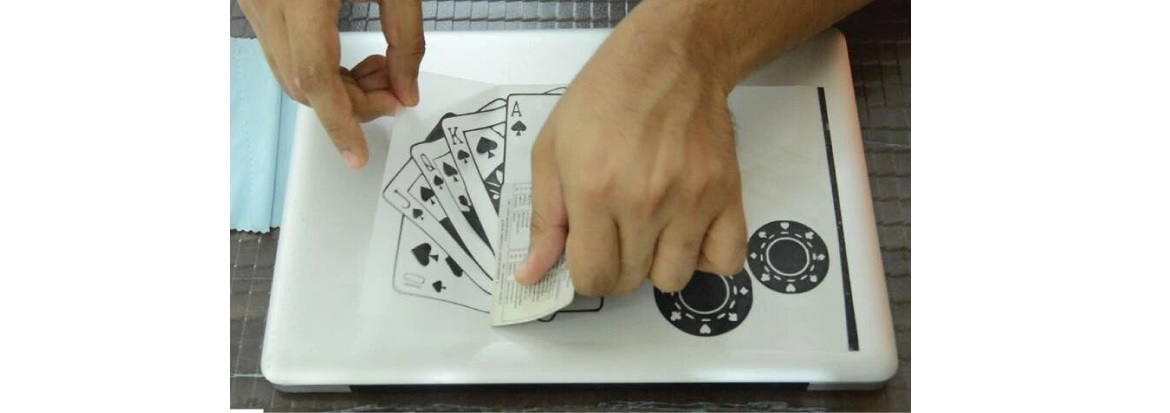
5. Pull back the adhesive application tape on a sharp angle. If it lifts the decal, press that part on to the surface. Then, remove the black tape too.
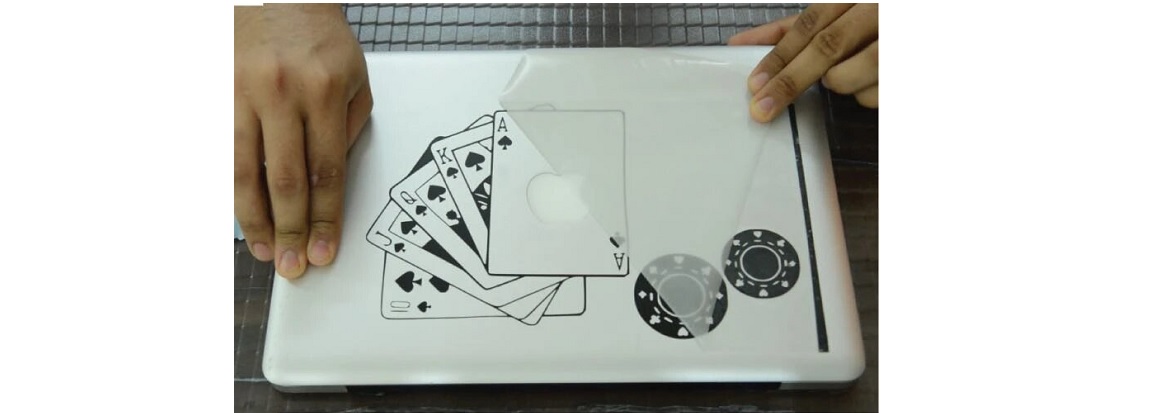
You Are done. YOUR MAC JUST GOT MACMERISED !!!
